
Mirroring a hard drive in Windows is an essential task for ensuring that you have a backup of your data and drive. Mirroring creates an identical copy of your hard drive, offering redundancy and protection against data loss due to hardware failures. Below, we outline the steps involved in mirroring a hard drive in Windows.
Understanding Disk Mirroring
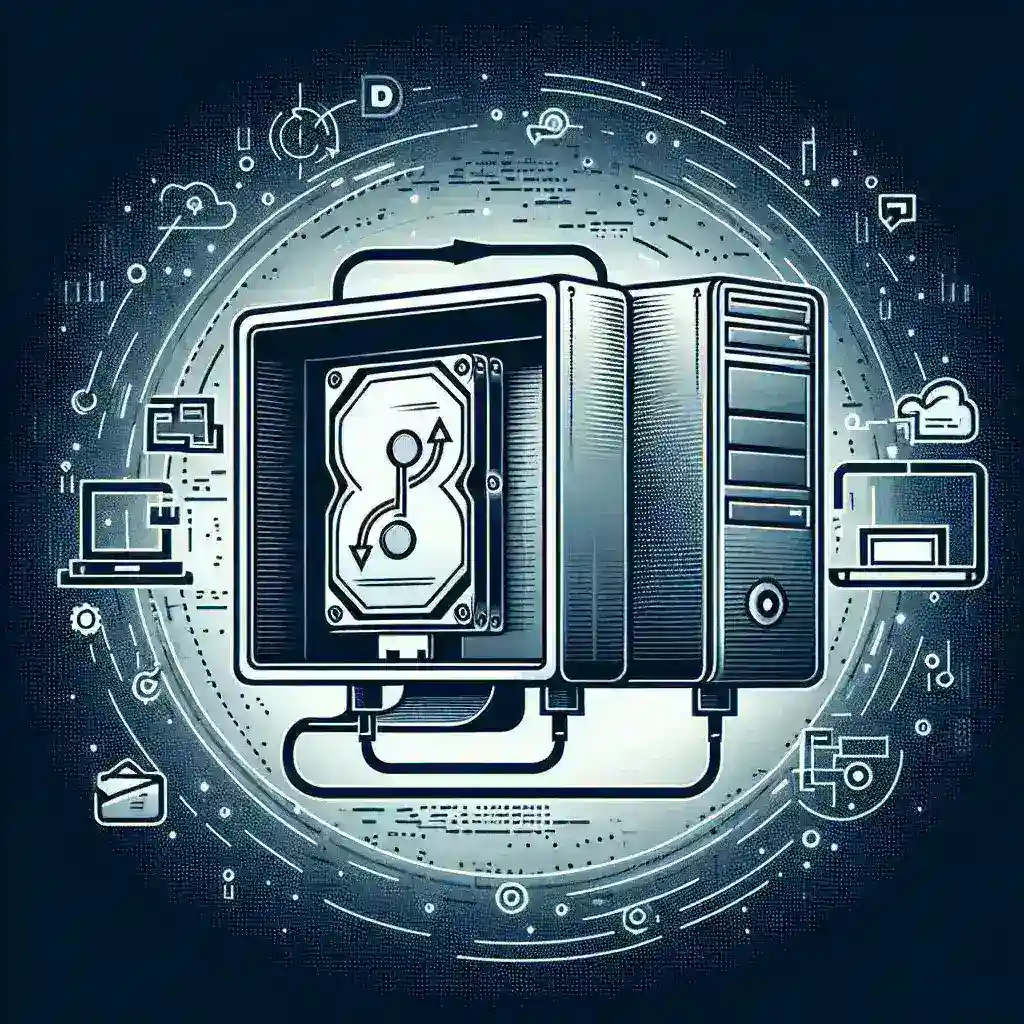
Disk mirroring, or RAID 1, involves duplicating data from one hard drive to another in real-time. This process guarantees data redundancy, which means if one drive fails, the other will still retain all your information.
Benefits of Disk Mirroring
- Data Protection: Provides a safeguard against data loss.
- Redundancy: Ensures an exact copy of your data.
- Quick Recovery: Simplifies data recovery processes.
- Fault Tolerance: Maintains system operations despite drive failures.
Pre-Requisites for Disk Mirroring in Windows
Before proceeding, ensure you have the following:
- Two Hard Drives: One for the source and one for the mirror.
- Windows OS: Windows 10 Pro, Enterprise, or Windows Server.
- Administrative Privileges: Administrative rights on your computer.
Steps to Mirror a Hard Drive in Windows
Step 1: Install and Connect the Hard Drives
First, physically install and connect the two hard drives to your computer. Ensure they are properly configured and recognized by the BIOS/UEFI firmware.
Step 2: Initialize the Hard Drives
Once the drives are connected, launch Disk Management by pressing Win + X and selecting Disk Management. Initialize the new hard drive if it is not already initialized.
Step 3: Create a Mirrored Volume
In Disk Management:
- Right-click on the primary hard drive (source drive) and select Add Mirror.
- Select the new hard drive as the destination to create the mirrored volume.
- Confirm any prompts and wait for the mirroring process to complete. This may take some time depending on the amount of data.
The table below outlines the basic steps:
| Step | Description |
|---|---|
| 1 | Install and connect the hard drives |
| 2 | Initialize the hard drives using Disk Management |
| 3 | Create a mirrored volume by adding a mirror to the source drive |
Step 4: Verify the Mirrored Volume
After the mirroring process completes, you should verify the integrity of the mirrored volume. Check the Disk Management window to ensure that the volumes are mirrored and functioning correctly.
Troubleshooting Common Issues
Mirrored Volume Not Recognized
If the mirrored volume is not recognized, ensure that:
- Both hard drives are properly connected and powered.
- The drives are listed in the BIOS/UEFI.
- The correct drivers are installed and updated.
Mirroring Process is Slow
A slow mirroring process can result from:
- Large amounts of data being copied.
- Hard drives with different speeds.
- Low system resources.
Conclusion
Mirroring a hard drive in Windows is a practical strategy for safeguarding your data. It ensures that you have an exact copy of your essential files, offering peace of mind against potential hardware failures. By following the steps outlined above, you can easily set up a mirrored volume on your Windows computer and enjoy the benefits of data redundancy and protection.