Introduction
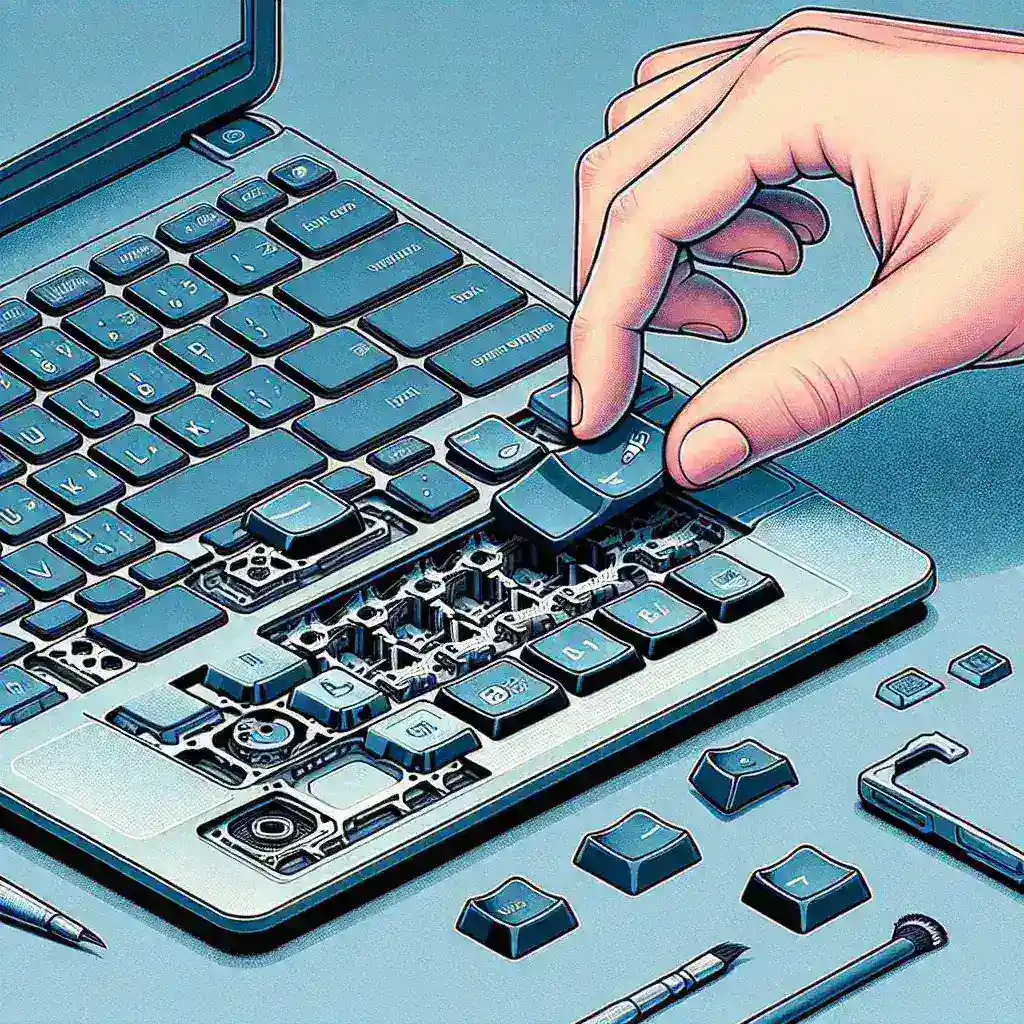
Whether you need to clean underneath your keycaps or replace a damaged one, knowing how to take off and replace a keycap on your Apple MacBook can be incredibly useful. This detailed guide will walk you through the steps necessary to ensure a smooth and safe process.
Why You Might Need to Remove and Replace Keycaps
There are several reasons why you might need to remove and replace keycaps on your MacBook:
- Cleaning dust and debris underneath the keys.
- Replacing a damaged or non-functional key.
- Switching keycaps for a custom look.
Types of Keycap Mechanisms
Apple MacBook keyboards generally come with two types of keycap mechanisms: Butterfly and Scissor mechanisms. Understanding these types will help you in the process of removing and replacing keycaps securely.
| Mechanism Type | Primary Usage | Characteristics |
|---|---|---|
| Butterfly | MacBook 12-inch (2015-2017), MacBook Pro (2016-2019) | Thin, stable, fragile |
| Scissor | Older MacBooks, MacBook Pro (2019 onwards) | Durable, reliable |
Tools You Will Need
Here’s a list of tools that will come in handy:
- Plastic spudger or pry tool
- Isopropyl alcohol (for cleaning)
- Compressed air (optional)
Steps to Safely Remove a Keycap
1. Preparing Your Workspace
Ensure that your MacBook is powered off and unplugged. Find a clean, flat, and well-lit workspace to carry out the procedure.
2. Using the Pry Tool
Gently insert the plastic spudger under the keycap. For Butterfly mechanisms, start from a corner; for Scissor mechanisms, start from the sides. Carefully lift the keycap, applying even pressure to avoid breaking the clips.
3. Cleaning Underneath
Once the keycap is removed, use compressed air or a soft brush to remove any dust and debris. Dampen a cloth with isopropyl alcohol and wipe the area clean.
Steps to Replace a Keycap
1. Aligning the Keycap
Carefully align the new or cleaned keycap with the scissor or butterfly mechanism underneath. Make sure that the clips on the keycap are positioned correctly over the mechanism.
2. Pressing the Keycap
Gently press down on the center of the keycap until you hear a click, indicating that it has snapped into place. Ensure all corners are secure.
3. Testing the Key
Power on your MacBook and test the replaced key to ensure it’s functioning correctly.
Common Mistakes to Avoid
Avoid these common pitfalls:
- Using metal tools that can damage the keycaps and keyboard.
- Applying excessive force, which can break the clips or mechanism.
- Neglecting to power off your MacBook before starting the procedure.
Conclusion
Removing and replacing a keycap on your Apple MacBook is a delicate process but can be easily managed by following this guide. Taking the time to do it correctly will help you maintain a clean and functional keyboard without causing damage.

